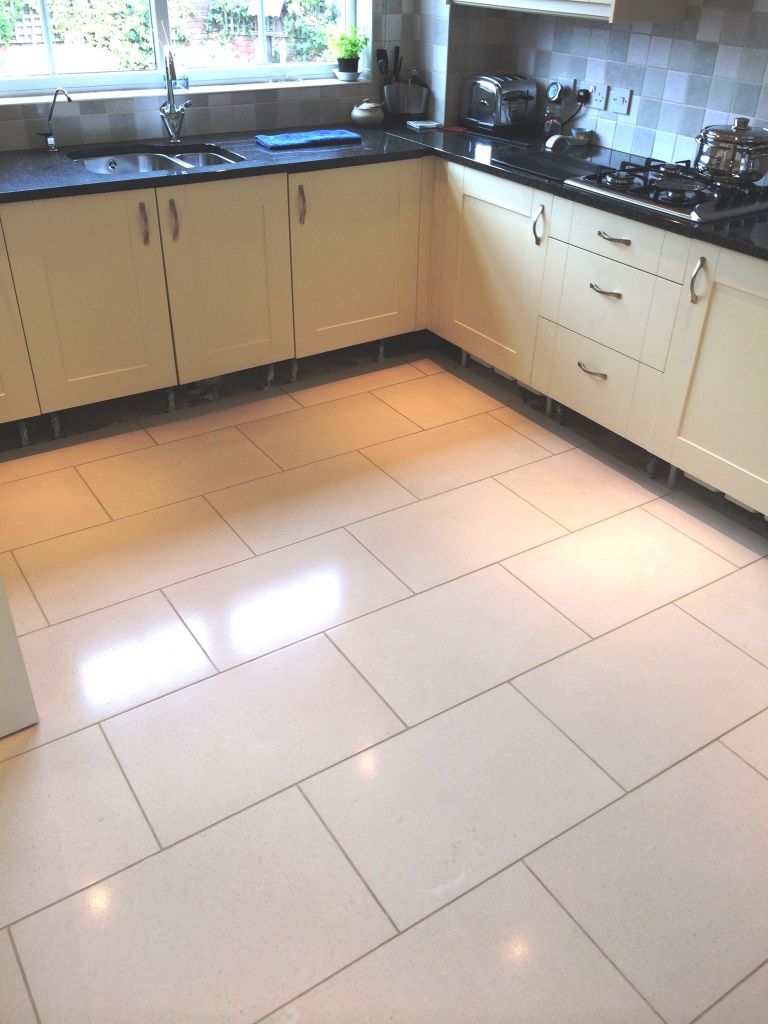
We recently worked on a Limestone tiled floor in the kitchen of a house in the picturesque village of Pewsey. The Limestone floor tiles were in good condition but had lost their shine and lustre and the grout had some staining.

Cleaning Limestone Floor Tiles
We started by cleaning the grout using a strong dilution of Tile Doctor Pro-Clean which was left to dwell on the floor for around ten minutes before being scrubbed it into the grout lines with a stiff grout brush. We then removed the dirty cleaning solution with a wet vacuum and rinsed the floor with clean water to remove any surplus product.
The next step was to burnish the Limestone tiles using a set of diamond burnishing pads. You start with pad number 1 in conjunction with a little water, the number 1 pad is a coarse pad designed to remove old sealers and other surface coatings and clean at the same time. Once the clean water turned a milky consistency it was removed using a wet vacuum and the floor rinsed. We carried on the same process with the next 2 step pads which are medium and fine grade pads and then gave a final rinse to remove any slurry produced.
Sealing Limestone Floor Tiles
We left the tiles to dry overnight and returned the next day to finish the floor first confirming it was dry by taking multiple readings using a damp meter. The result was positive so we dry buffed the floor using a Green buffing pad fitted to a rotary machine to shine the surface. Next step was to apply two coats of Tile Doctor Colour Grow with a smooth paint pad leaving it to dry before further buffing the floor with a white pad to bring up the shine. Colour Grow is a versatile sealing product that is designed to bring out the colours in natural stone whilst providing lasting stain protection.

Source: Residential and Commercial Limestone Tile Cleaning in Wiltshire
Limestone is very hardwearing but you will find the polished appearance wears off over time.