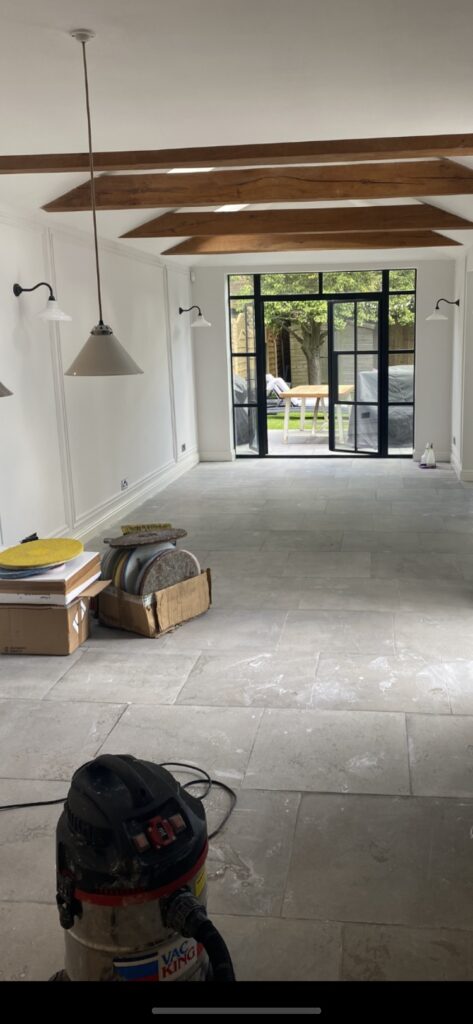
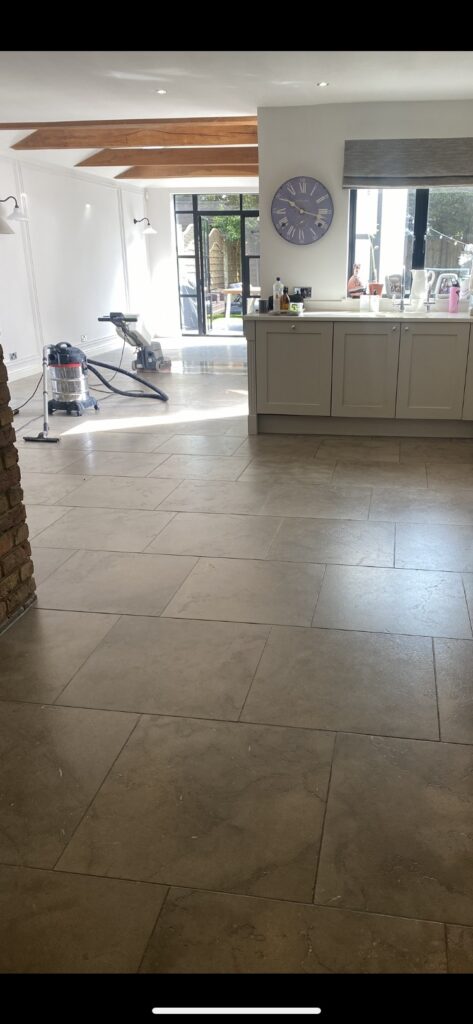
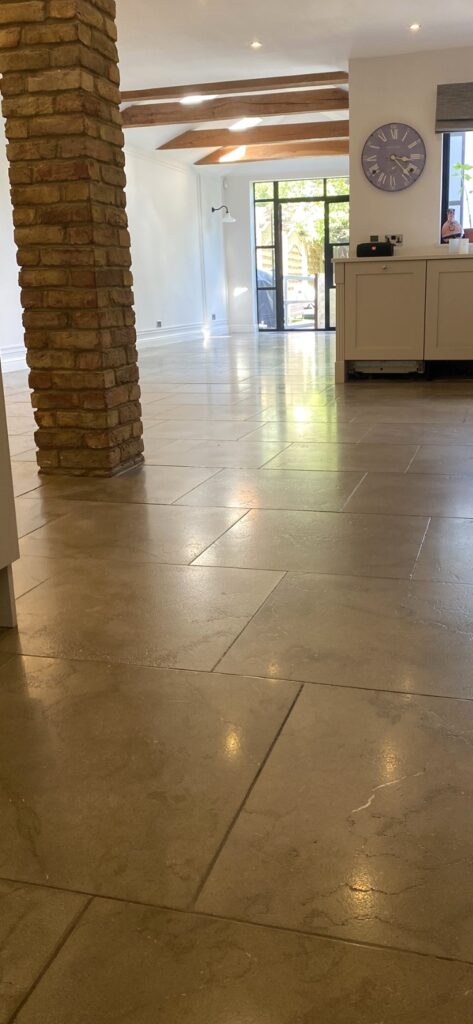
Pictures below of another Limestone floor that I recently renovated, this time in the open plan kitchen and dining area of a home in South Ockendon. Originally installed over ten years ago it had never been sealed and over time dirt had worked its way into the stone leaving it looking dull and flat.

Stone floors need to be sealed if you want them to look their best, sealing ensures the dirt remains on the surface where it can be easily cleaned away. Sealers can also enhance the appearance of the stone and improve colour; the only downside is they do wear off with use but a good sealer can last three years or more if maintained correctly.
I went over to the property to survey and measure the floor to be able to give them an accurate quote for deep cleaning, polishing and then sealing the stone. I could see it would be a straight-forward job with little complications so I worked out a quote based around two days work and products needed to bring the Limestone back to life.
Cleaning and Polishing a Limestone Tiled Floor
The cleaning process was a repeat of a similar job I recently completed in Leigh-on-Sea and involved cleaning out all the dirt trapped in the pores of the stone by working in a 1:4 dilution of Pro-Clean using a coarse 200-grit pad. These coarse pads are fitted to a buffing machine and run over each tile several times to open up the pores of the stone allowing the dirt to be flushed out, they also remove minor scratches, sealers, and ingrained dirt.

The floor was then rinsed and soiling extracted with a wet vacuum before applying the next coarse pad which was a 400-grit. This process was then repeated with a medium 800-grit and fine 1500-grit pad which close the pores and refine the appearance of the Limestone.
Next step was to scrub the grout lines using more Tile Doctor Pro-Clean. I find this is best done by hand as the pads struggle to reach into the recesses of the grout line. Once done the floor was rinsed and extracted several times to neutralise the floor and remove any trace of product.
The floor was then left to dry off and I returned a few days later to give the floor plenty of time to dry.
Sealing Limestone Floor Tiles
On my return I started with the application of an extra fine 3000-grit burning pad, this is applied dry to the floor using only a little water sprayed onto the tile a process we call a Spray Burnish. It leaves the floor nice and dry and is the last step in the polishing process leaving the stone with a nice subtle sheen.
As mentioned earlier sealers protect the floor and some will improve colour and for Limestone, I find Tile Doctor Colour Grow works well. The product contains a colour enhancing formula that really brings out the best in Limestone. Its also an impregnator which works by occupying the pores in the stone thus preventing dirt from becoming ingrained there. Only two coats of Colour Grow were needed to fully seal the stone.

The Limestone floor responded well to the process transforming the space from dull and un-inspiring to one that was very appealing and inviting. The stone and grout looked so much lighter and cleaner with a subtle polish that made the owners very happy.
For the aftercare cleaning of a polished stone floor like this we recommend using Tile Doctor Stone Soap. It’s a gentle yet effective cleaner that helps maintain the patina and won’t damage the sealer ensuring it lasts a long time.
Source: Limestone Floor Tile Cleaning and Sealing Products and Services in South Ockendon Essex